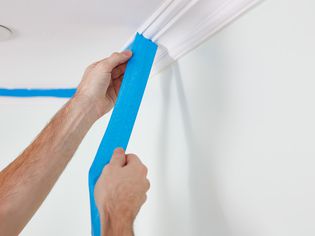
Painter's tape is used to prep a surface before painting to mask off edges, ensure sharp lines, or create designs. Knowing how to tape a room and remove painter's tape can impact the success of your paint job. Rather than removing the tape immediately after painting when the surface is still wet, it's best to wait for the paint to dry to the touch before peeling off the tape. Learn more about when to remove painter's tape and why it matters.
What Is Painter's Tape?
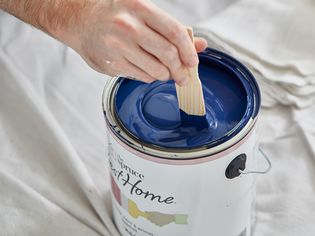
Painter's tape is a low-stick tape formulated for painting projects and typically applied to baseboards, moldings, and trim around doors, ceilings, and windows. (It's possible to paint without tape using the cutting-in technique.) Painter's tape has a less aggressive adhesive typically found on masking or duct tape. Aggressive adhesive can peel away dried paint during removal. Certain brands of painter's tape have different levels of adhesive that allow you to leave the tape in place longer or require you to remove the tape quickly after painting.
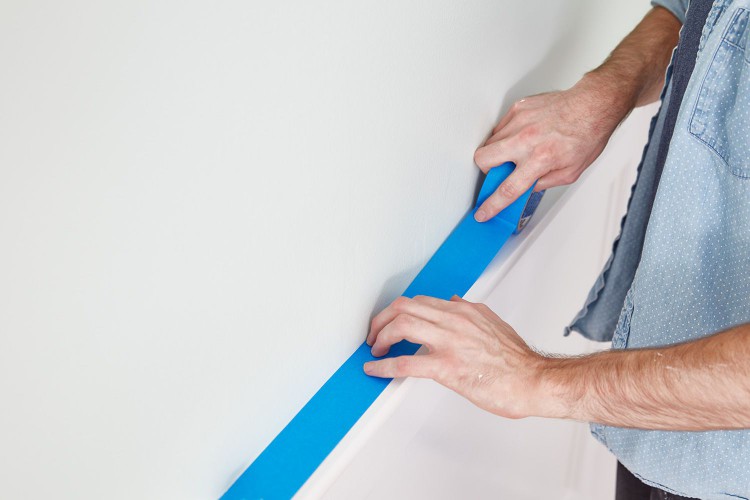
The Spruce / Margot Cavin
When to Remove Painter's Tape
Each brand of painter's tape has instructions on how long you can leave the tape in place. Here are a few general tips for the best time to remove painter's tape so your paint job looks professional:
- Let the paint dry to the touch on most projects. That could mean within an hour or two. Do not remove painter's tape after the paint has fully cured or there's the risk of taking off some dry paint when peeling it off.
- Consider the number of coats you're painting. If it's a quick, straightforward paint project that needs two or more coats, consider retaping the area each time you add a coat. However, you don't need to retape between coats, especially for large projects.
- Leave the tape up for complicated projects. If the paint job is complex with intricate corners and lines, consider leaving the tape until all the coats are complete. However, many professional painters retape intricate corners between coats of paint so it's your preference.
- Many products will be specified as "14-day" removal. This type of painter's tape can be left in place for up to 14 days without leaving a sticky residue. If the tape is left up longer, however, there's the risk of adhesive residue left behind on the woodwork or walls when the tape is finally removed.
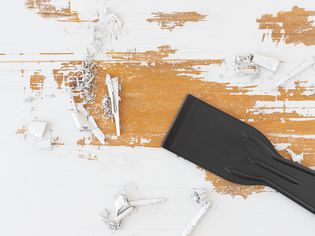
How to Remove Painter's Tape
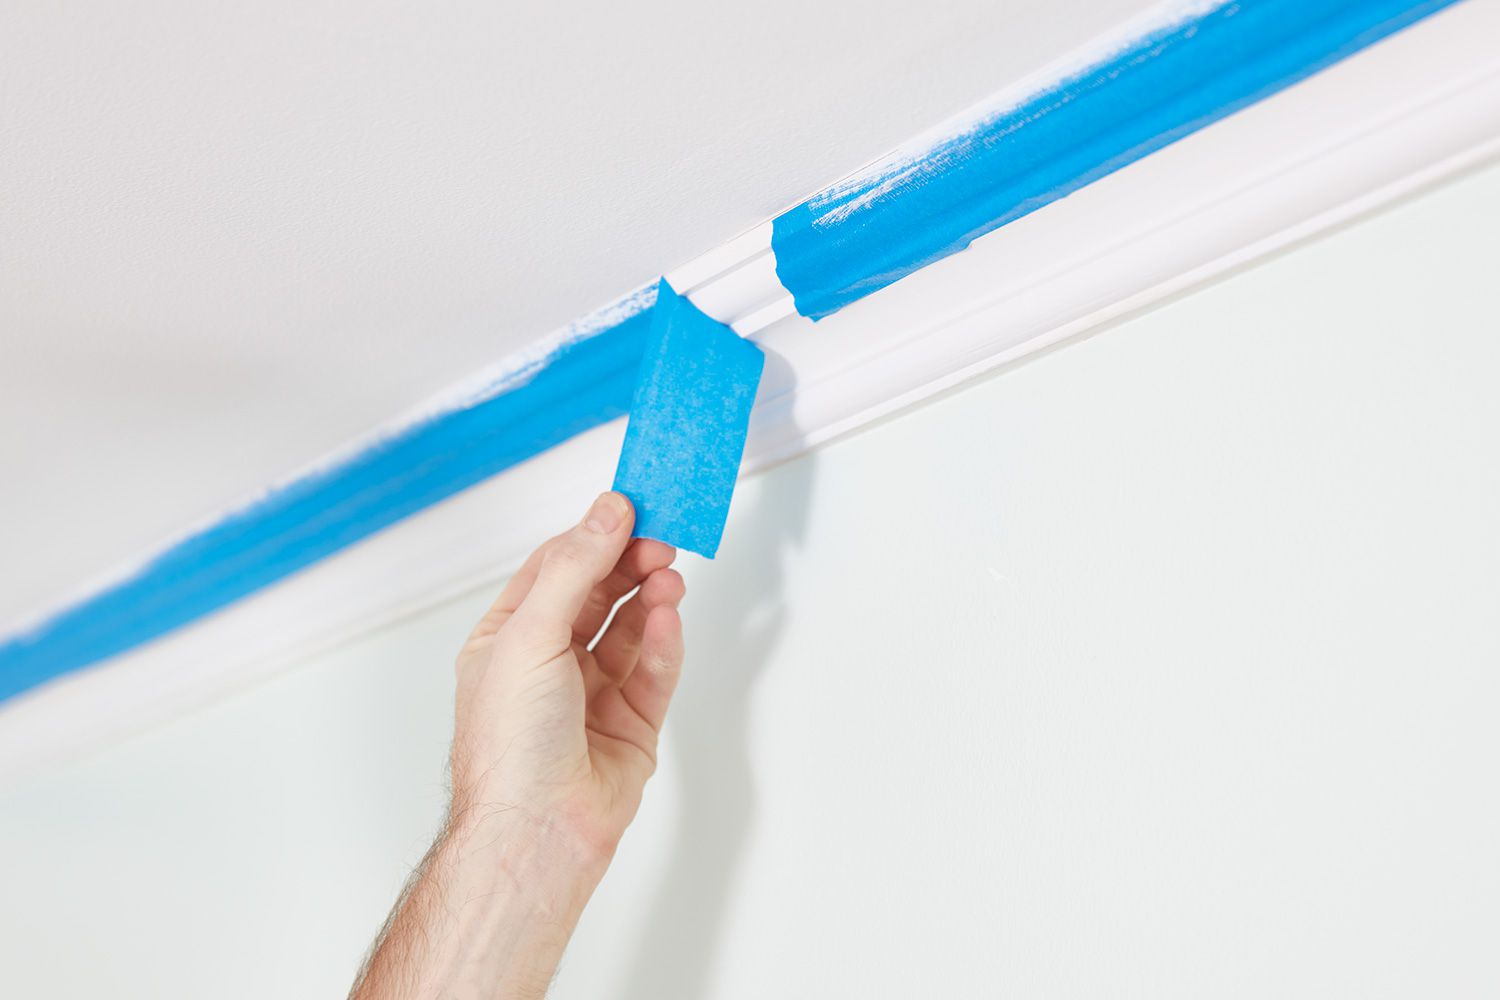
Removing painter's tape requires a light touch rather than aggressively pulling it off the surface. Here are tips to make the job easier so your paint job looks sharp.
- Go slow. Begin at one end of the tape and pull the strip back on itself in a steady, slow motion.
- Remove the tape at an angle. Pull the tape back at a 45- to 90-degree angle. This angle helps the tape cut through the dried paint to create a crisp, sharp edge.
- Have a blade ready. If the tape tears or fails to pull away, use a sharp utility knife or razor blade and carefully slice through the stuck paint to remove the tape.
- Can painter's tape be left on too long?
Yes, painter's tape that is left on too long (usually over 14 days) bonds with the paint. The result will be chips of paint that come off as you try removing the tape, leaving an uneven edge.
Should I remove painter's tape between coats of paint?It is up to you if you want to remove painter's tape between coats though it is not always necessary, especially if the project has intricate corners and lines. However, some painters prefer to refresh the painter's tape between coats.
How long should I wait to retape after painting a coat?If you do want to retape, wait until the coat of paint is dry, usually about 24 hours, before retaping for the next coat. If retaping, consider using painter's tape with very low tack or adhesive, as some products are formulated for delicate surfaces and could be beneficial when painting a second coat.
Recommended Articles
 PAINTING
How Is Paint Made?
When you pull out the roller or the brush and start painting your home, the paint's ingredients and how it is made are likely the least of your concerns. Visions of your soon-to-be beautiful living ro
PAINTING4 Natural Paint Removers for Every Surface
Removing or stripping paint from any type of surface is seldom an easy job. Every surface takes paint differently and every type of paint reacts differently to the surfaces. Add in environmental condi
ROOM-DESIGN-AND-DECORATING5 Best Bathroom Wall Options
Bathroom walls need materials that handle moisture well, as they face more humidity than walls in dry areas of a home. Selecting the right bathroom wall option is crucial to withstand this moist envir
INTERIOR-REMODEL-AND-REPAIRWhat Not to Fix When Selling a House: 10 Tips Pros Want You to Know
Knowing what not to fix when selling a house is as important as knowing what to fix. Large appliances are too expensive to fix or replace, while other items, like window treatments or smart home techn
HOME-IMPROVEMENTWhat Does “Plumb” Mean in Construction?
The term plumb can be used as a verb to describe the activity of a plumber running water supply and drain pipes in a building, but the more important use of the term comes in the context of general co
BATHROOM-REMODEL-AND-REPAIRUnderstanding the Plumbing of the Bathroom Sink
Bathroom sink plumbing is straightforward because it involves only a few key components that are usually accessible inside the sink cabinet. These components are categorized into water supply parts, l
KITCHEN-REMODEL-AND-REPAIRThese 8 Hacks Can Help You Fake a Kitchen Reno
When it comes to renovating your home, nothing makes more of a difference than a brand new kitchen—and nothing is quite as demanding on the budget either. If a new kitchen just isn't quite in the card
KITCHEN-REMODEL-AND-REPAIRApron Sink vs. Farmhouse Sink: Everything You Need to Know
If you’ve ever shopped for a kitchen sink and considered the farmhouse aesthetic, you’ve probably seen “apron” and “farmhouse” lumped into a single category, combined within the product names, or used